Product Overview:
This process log documents the design of a cotton cloth shoulder bag where the users can use the main part of the bag to hold a laptop, put a keyboard, mouse and an adapter and charging line in the front pocket, and an additional velcro holder as a closing mechanism to avoid laptop falling off. The goal of this design is to enhance reliability and functionality, to make a product that I would like to use in my daily routine. In this project, I explored how to utilize my design to better respond to the my own need of having a shoulder bag for my daily routine and practiced my soft good prototype skills (using sewing machine/cutting materials/planning on how to resemble different parts of the prototype) to respond to future need of soft good prototype.
In this log, I will describe how I brainstormed based on defined user needs, made decisions on which final design I should go for, gathered feedback from users and peers, and identified parts that should be improved. I also document the reasoning behind key decisions and how these choices work better in supporting my target users.
Ideation:
The goal of this design is to make a “bag-shaped” soft good that stress on simplicity, and can hold stuff inside it and have a closing mechanism that can avoid stuff from falling off the container, using a sewing machine to connect different part together. In this section, I will explain how I iterate throughout these three ideas to better align with my design goal.
I started with thinking of which part in this design description will make it better than the product we are already using now. I tried to list out the satisfaction points (my own need of using a bag with soft material).
- I would always bring my laptop with me to deal with some unexpected need of using my laptop to work/study/working on homework assignment, so I would be very happy if I have my laptop with me wherever I go.
- My laptop’ battery drops very quickly so I would feel more safe if I can bring my charging line and adapter with me so that I can use my laptop without feeling a sense of insecure.
- I get thirsty really quickly so that I have to drink water frequently. That’s been said, I have to bring a water bottle along with me in order to consume some water if needed.
- I wish I can use a easy way to grab out stuff from my bag along with me. For now, every time I want to take out stuff from my backpack, I have to take off it then unzip if to do so, so that part could be better.
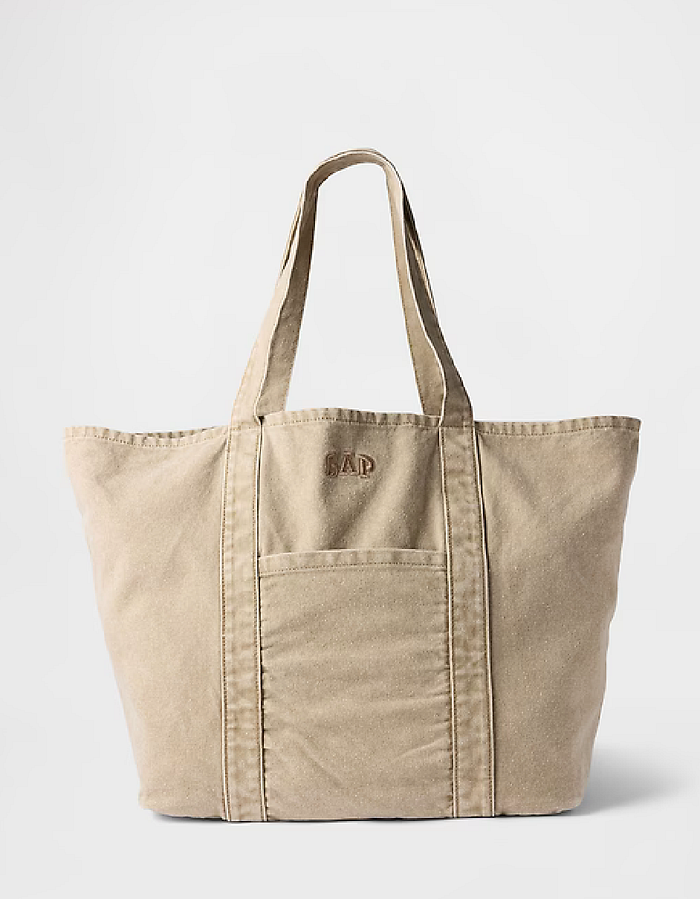
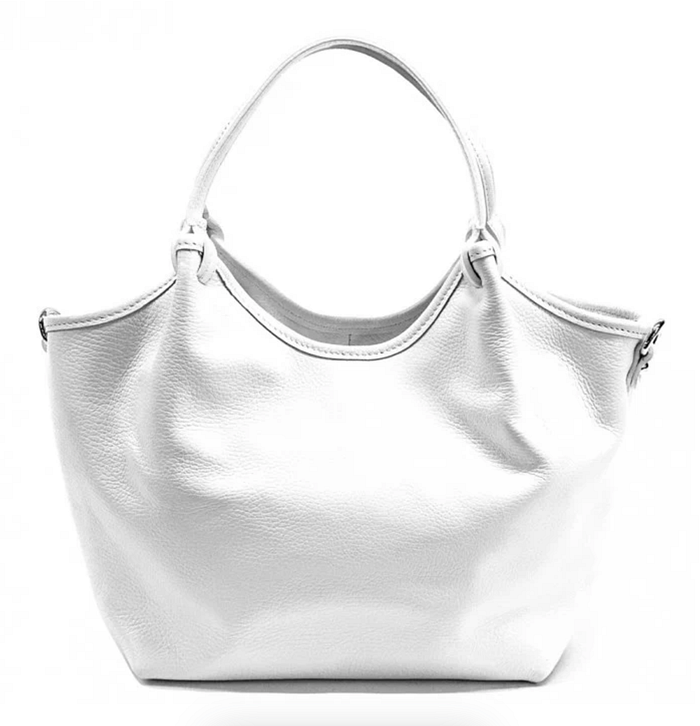
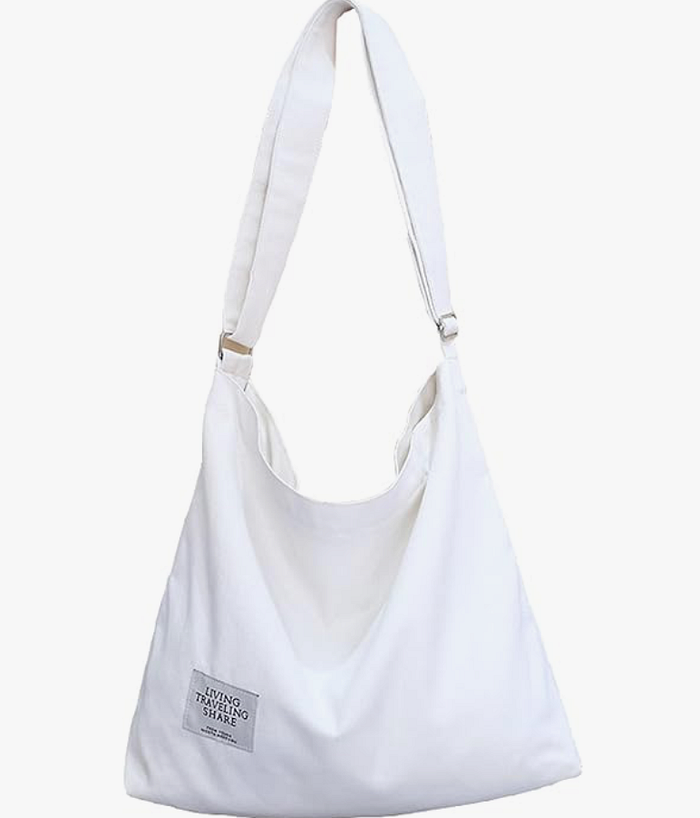
While finding some ideas by gathering inspiration from Pinterest, I thought about how I can also stress these satisfaction points using my design as a solution.
Idea 1:
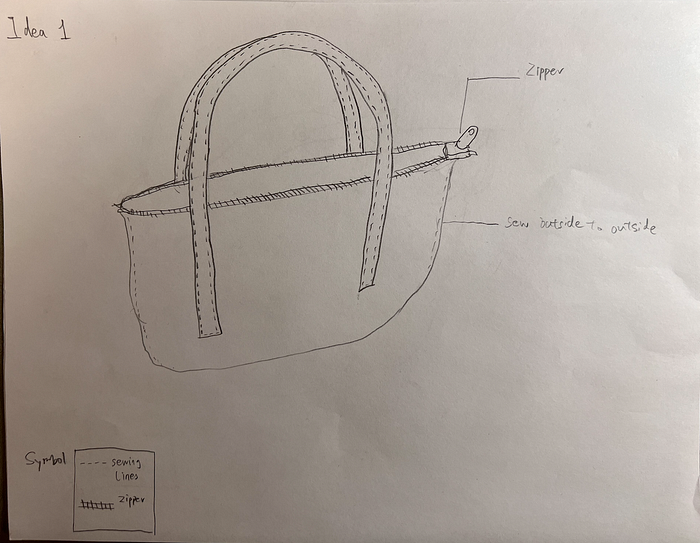
Idea 1: Shoulder bag with two straps
My first idea is kinda random from the references (see technical appendix part). I chose to design the shoulder bag sewing outside to outside because I want to enhance the texture of sewing line on the bag. This is a common design of shoulder bag. I chose to do the sip as the closing mechanism because this is the first closing mechanism jump into my mind. The volume of the bag is big enough for me to put my laptop, adapter, charging line, and a water bottle in it. There is no strong connection with iteration on three of the design, they are pretty parallel in ideation phase.
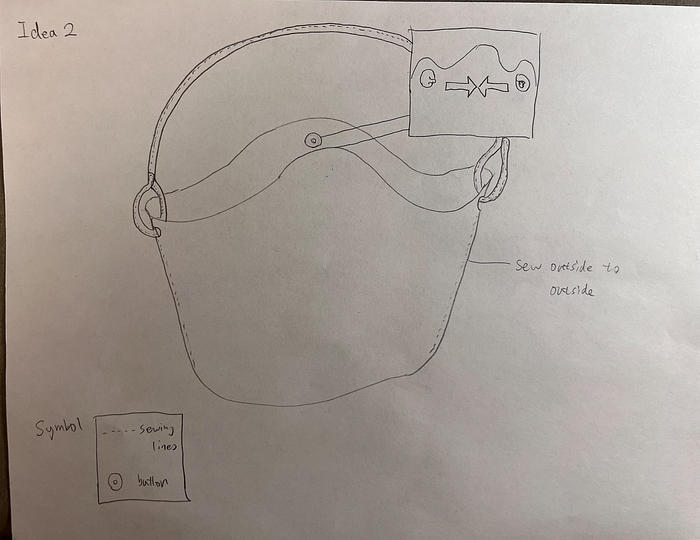
Idea 2: A wave shape shoulder bag
After that, I soon had a second idea on having a better (or say more complicated) body shape of the bag. I chose to design a upside down “U” shaped on the edge of the shoulder bag because in this idea, I use two buttons as the closing mechanism which will decrease the volume of the shoulder bag. I chose to do the sewing outside to outside for the same reason. And still, this is big enough for me to put all my belongings in my satisfaction point in it. I changed the strap to the other side and then reduce it to become only one.

Idea 3: Connected strap and body shoulder bag
For the idea 3, I decided to explore the possibility of cutting the strap as I cut the main body. This simplify my way of making this bag, as well as enhance more aspects in aesthetics. I chose to step a way back to use zip as the closing mechanism because this bag has a flat edge. Also, I choose to sew the bag inside to inside in order to hide the messy sewing lines and better align with my goal of design a bag with simplicity. I also added a pocket in the front of the bag so that the storage of my laptop and other stuff separately can be seen as an additional align on simplicity. With all those been taken into consideration, the idea 3 is the best align with my goal of having a simple shoulder bag achieving my satisfaction points among three of these ideas. So I decided to go with this idea and started my first low-fidelity iteration prototype.
Prototype:
In the sections above, I explained how I explored different ideas and then made decisions on the one I should go for making a prototype by following the design goal and stressing the satisfaction points. In this section, I will briefly talk about the process of making a testable low-fidelity soft good prototype, and then use it to iterate to a better prototype in fidelity level, and showcase how it looks.
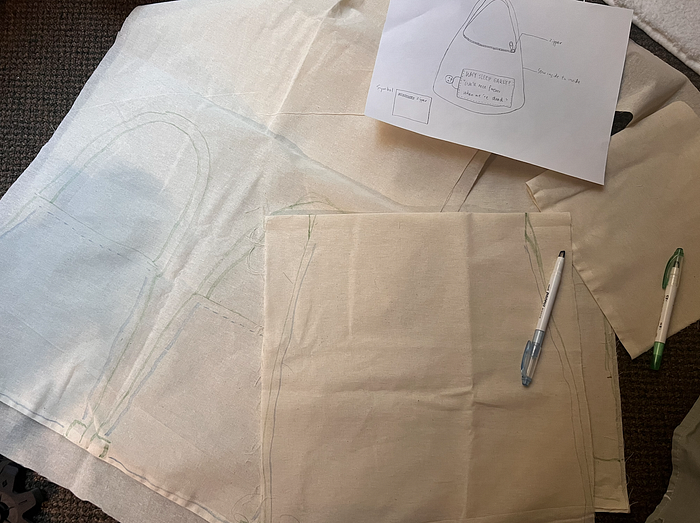
Sketching on the soft material
First of all, I used my idea 3 as a reference and sketched out the cutting lines and sewing lines on the soft material using my markers.
After that I went to the McCarty Innovation & Learning Lab (MILL) to cut out my sketch on the soft material using scissors and then use pins to make further adjustments on edges. Then I use the sewing machine to connect two part together (front and back).
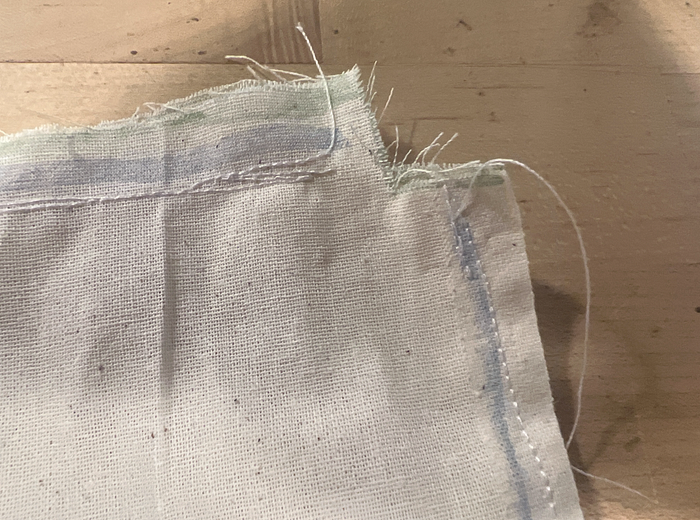
Sewing inside to inside
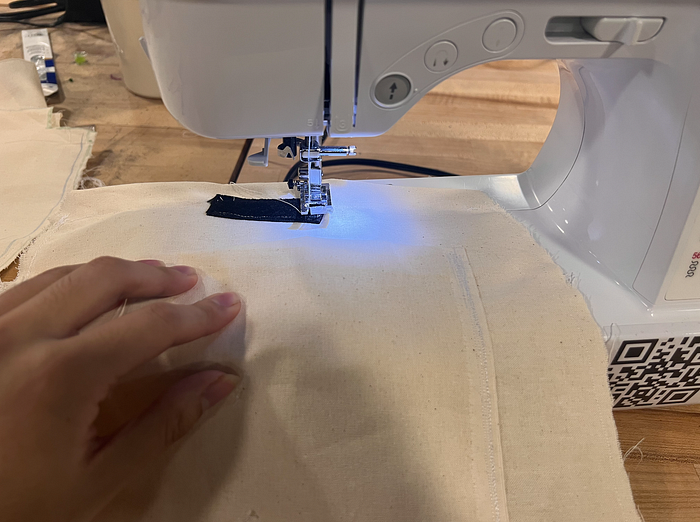
Using sewing machine to sew
Then when I tried to sew the zip to the edge of the opening of the bag, there came the difficulty. I found that it is way too late for me to sew the zip and the edge of the top. It made me super hard to do this sewing afterwards. It took me about half an hour to fixed this problem, and here is how the first low fidelity prototype looks like.
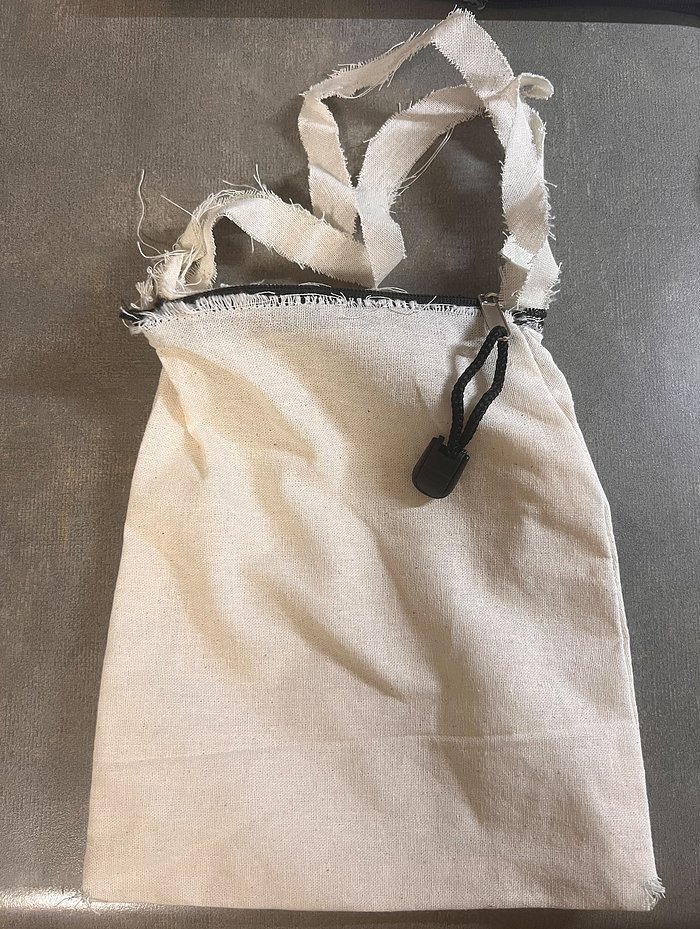
Low-fidelity prototype on soft material
After seeing the first low fidelity prototype, I identified several parts for improvement:
- One layer of this kind of material is to thin, or say not strong enough for me to hold something relatively heavy like a laptop, so I should use double layer at least in my next prototype.
- Choosing to build the straps and the body together (cutting them out together without further enhancement on connection point) lead to the weakness in holding heavy items as well.
- Sew the front and back part together should placed in front of the process of sewing of small component on the main part, in the whole process.
- I should do a velcro as the closing mechanism instead of doing a zip because when I hold this shoulder bag, it would be easier for me to open it and take things out with a velcro but not a zip.
Keeping these in mind, I did my higher fidelity prototype.
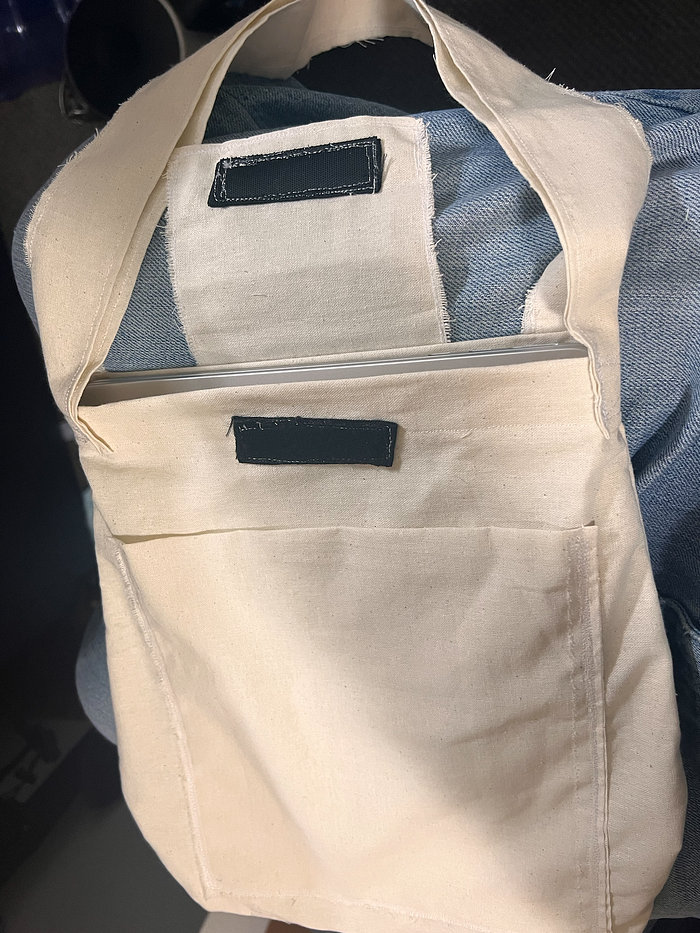
Higher-fidelity prototype on soft material
And here are some detailed showcase.
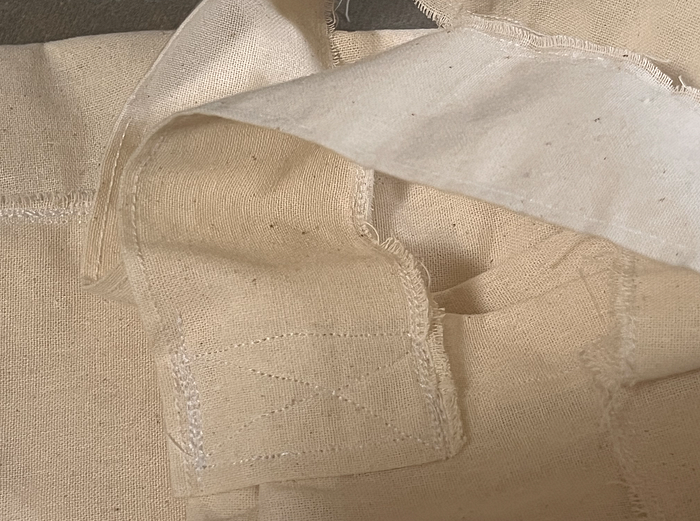
Front pocket and velcro

Velcro closing mechanism
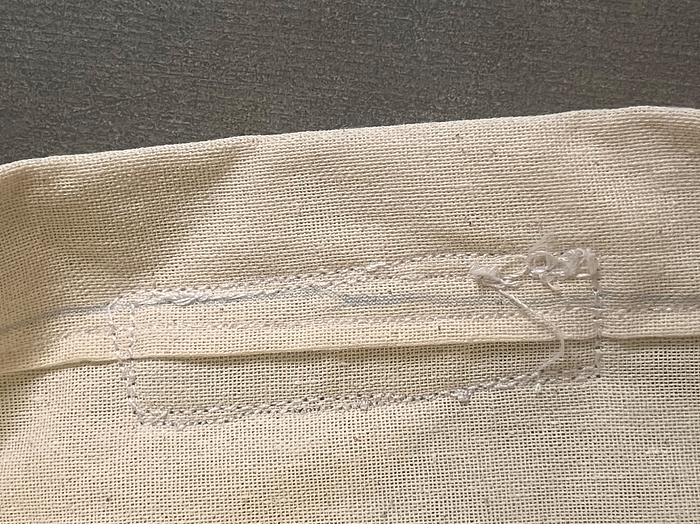
Sewing line on velcro
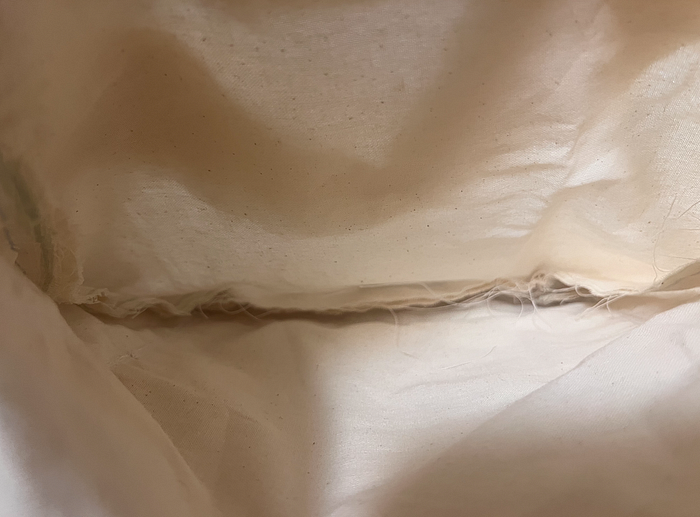
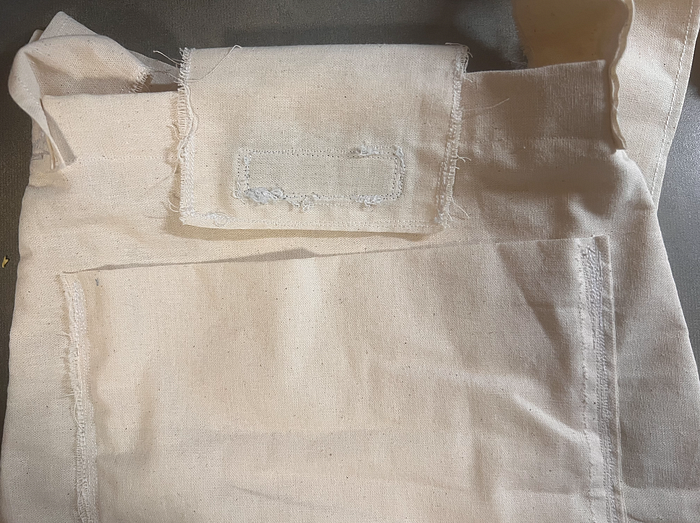
Inside of the bag (showing sewing inside to inside)
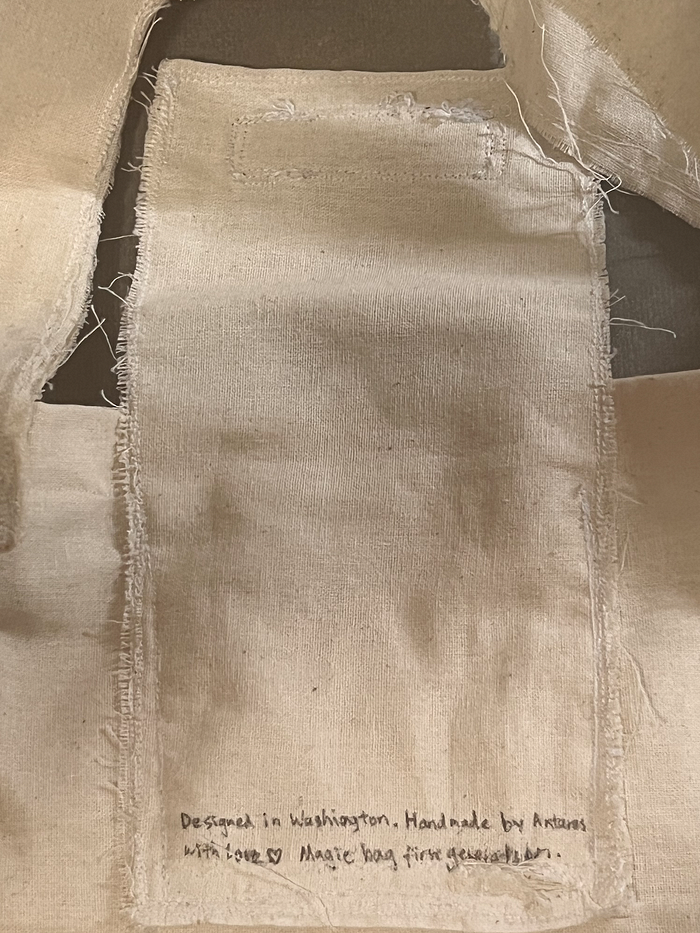
Velcro structure back
Enhanced connection of strap and main part
I also tested the reliability and functionality of the shoulder bag. I can put my laptop with a water bottle on the front so it does align with my design goal and stresses on my satisfaction point.
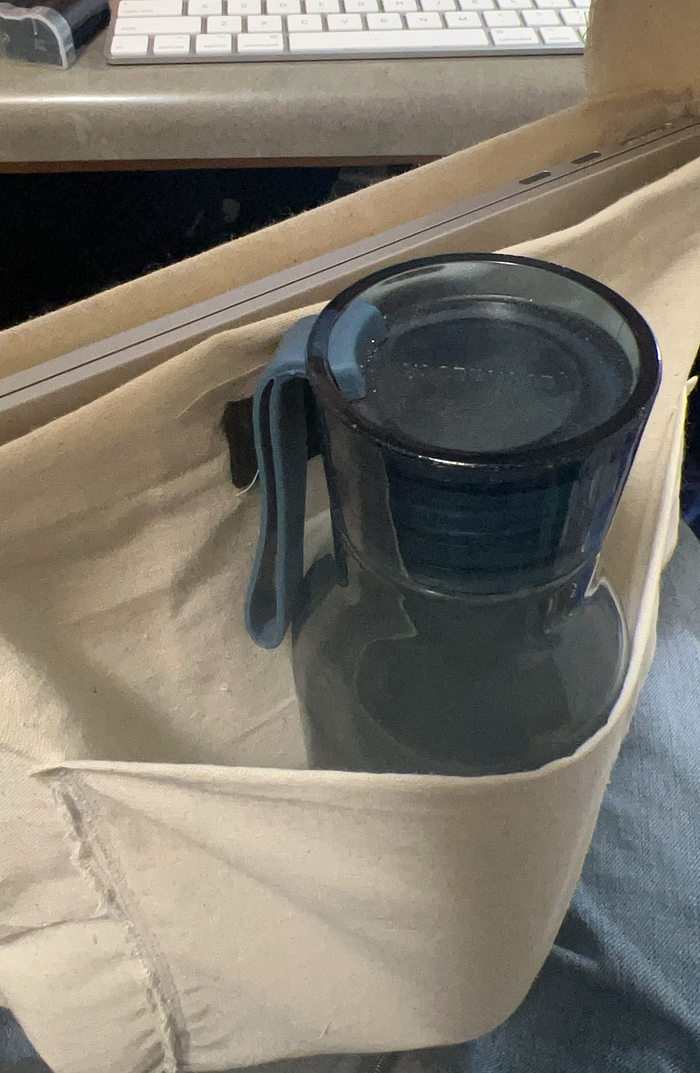
Testing functionality
Feedback:
In class, my peer and I worked in groups of four for one rounds of critique. Then we moved out for presenting our prototype to our TA and receicving feedback as well. In the first round of critique, I introduced my design in one sentence and talked about how I iterated through prototypes. I also talked about the key decision I made and future question on my prototype. In the second round of critique, I presented my work as well as saying the key decision I made, as the further question I had. This is the feedback I received:
**Key decision I made:** Choose to do double layer on the all the parts in this prototype.
**Further question I had:** Which part in this design makes you feel unsafe (In what situation, this might be broke)
Round 1:
What works well?
- They liked the front pocket, finding it useful and well-placed.
- They appreciated the use of an “X-box stitch” to reinforce the connection between the strap and the body of the bag, noting that it enhanced structural stability.
- They liked that the closure is designed as a separate component, rather than being directly integrated into the bag body.
- They liked how I switch the closure from a zipper to velcro. It was seen as a positive improvement, making the bag easier and faster to use.
What could be better?
- They thought that the bag is a little tight when fitting a laptop (although all of them successfully fit their laptop in), suggesting that the internal space could be slightly increased for better usability.
Round 2:
- TA said that the straps should be stitched together, as this would improve strength and durability.
- TA mentioned I should consider adding a third layer to the pocket, which could improve organization or functionality.
- For the straps, it was suggested to fold the fabric along the cut line and iron it before stitching, which may result in cleaner edges and a more polished finish.
Takeaways:
Feedback from both my peers and my TA reveal that my design did successfully align with my design goals and stress on the satisfaction points. But there this design have some minor issue that may or may not impact it functionality. It could be better if I,
- Slightly increasing internal capacity for laptops
- Improve strap construction techniques
- Exploring additional pocket layering for better organization
Acknowledgment:
Special thanks to my group member Batuhan Celebioglu, Ashley Ma, and Josue Salgado, TA Nichole Sams and Instructer Brock Craft for their valuable feedback. Special thanks to Peitong Qi for her help with organizing materials and actionable feedback.
Thanks for reading! : )
Technological Appendix:
AI usage:
- I used ChatGPT in correcting my grammar and typo;
- I used NotebookLM to help me organize user feedbacks;
- I discussed with ChatGPT of parts I should improve with the feedback I got.
Writing reference:
- I used the overall structure of the blog from my last blog as a reference of this blog. Some of the words written by myself are the same (some transition sentences and words).
- Here is my reference blog: https://medium.com/@chenjy4/hcde-351-a1-oxo-shower-control-interface-142da89d4355
Inspirational reference: